If you’re new to real-estate brackets, the rules are simpler than YouTube tutorials make it sound. Tripod. Aperture-priority. Auto Exposure Bracketing. Three to seven frames. Get out of the camera’s way and let the AI handle the merge.
Why brackets matter for interiors
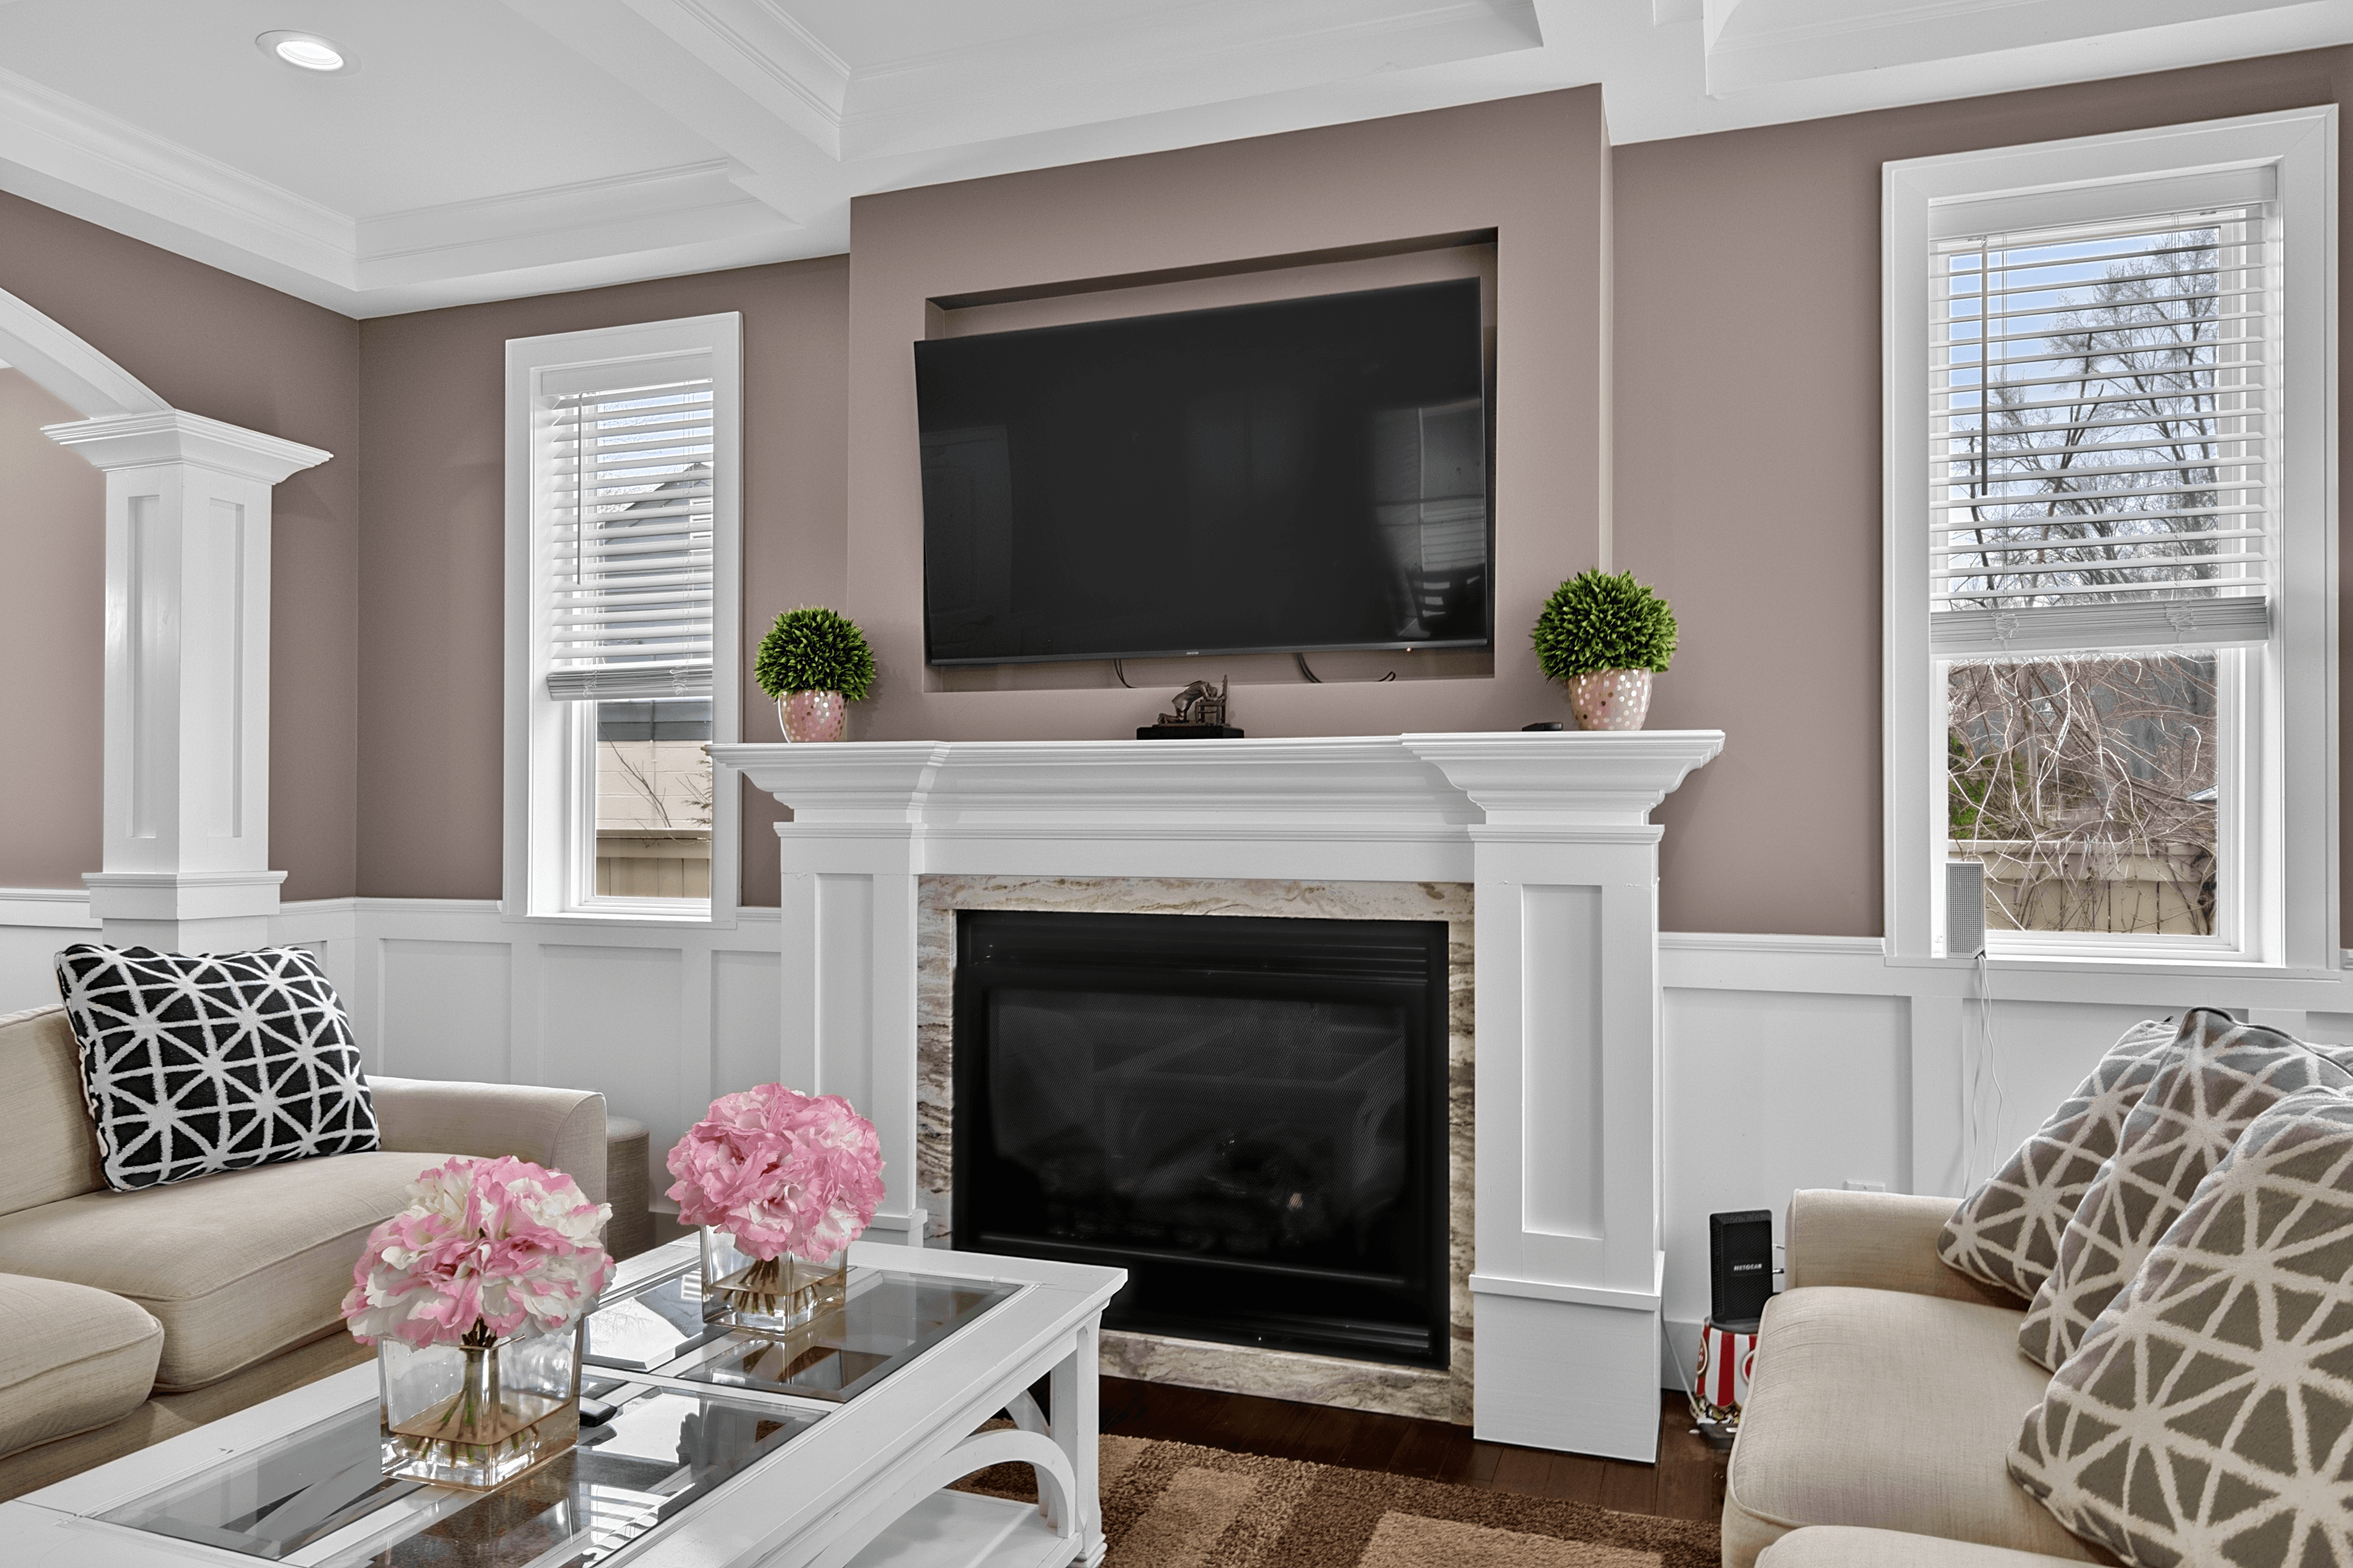
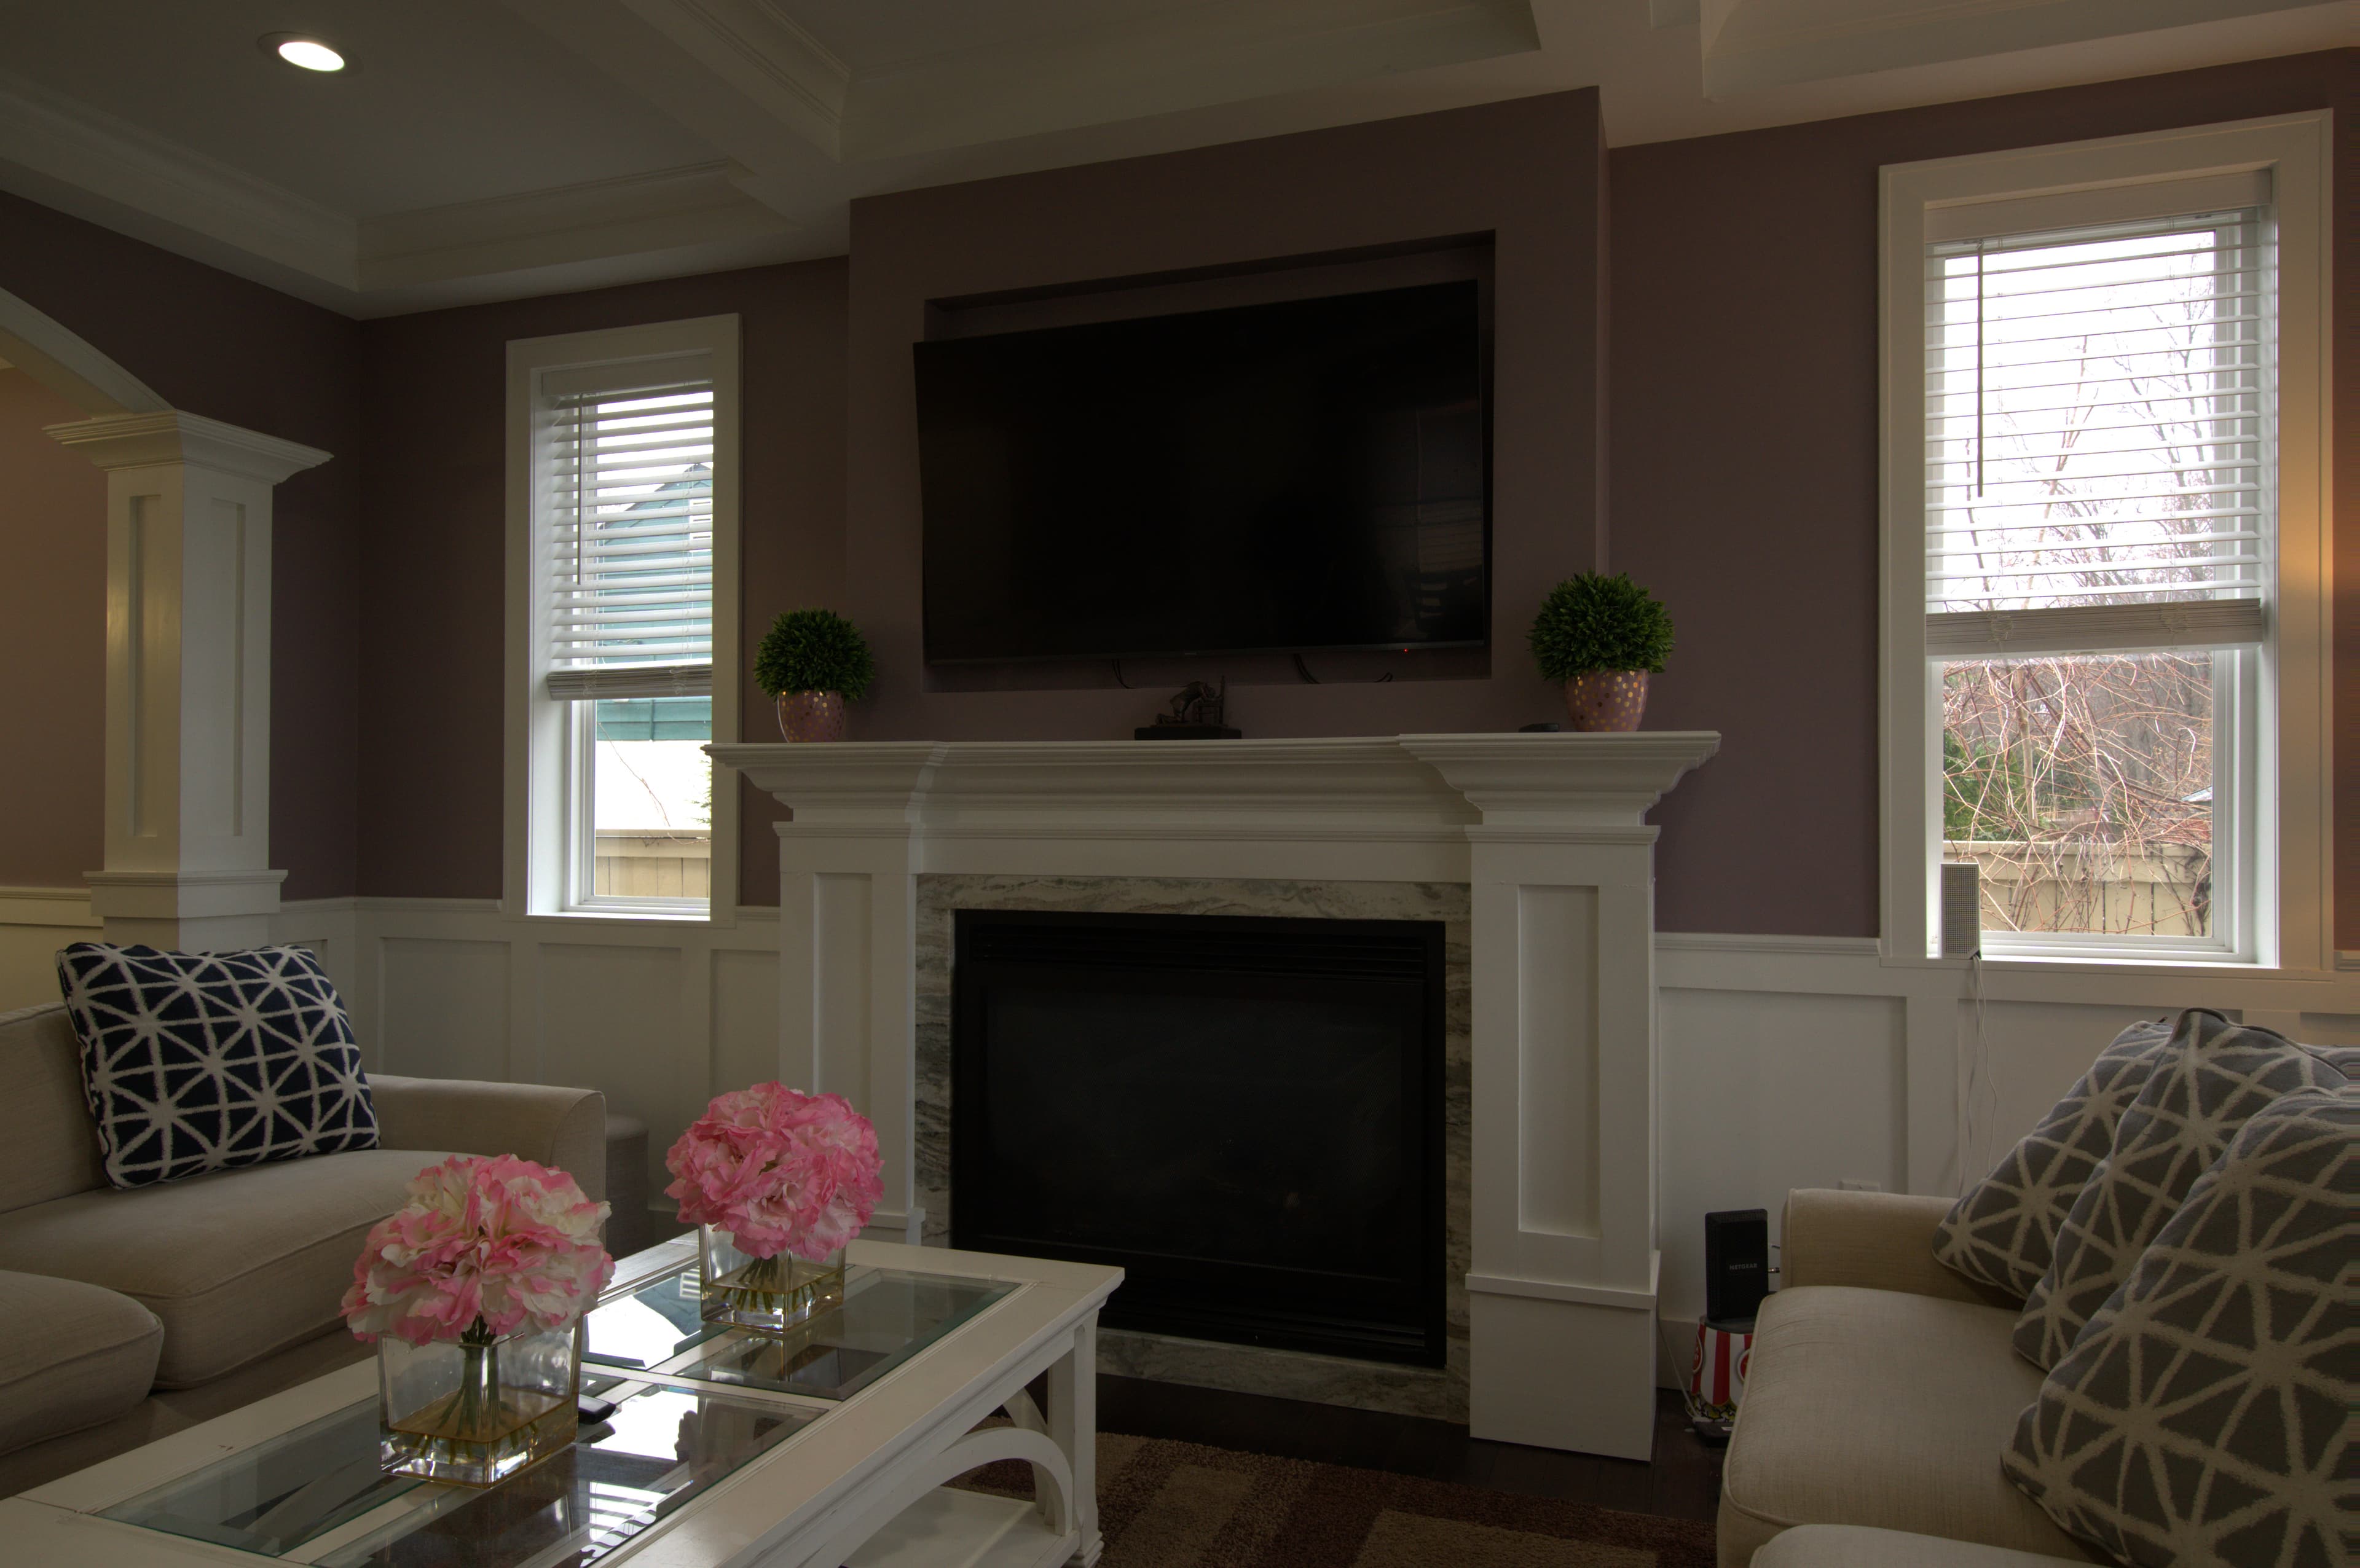
The dynamic range of a real-estate interior — bright window + dim corner — exceeds what any single camera exposure can capture. You either expose for the window (and lose the room) or expose for the room (and blow out the window). Brackets capture both extremes; the merge blends them.
This isn’t a stylistic choice. It’s physics. The camera’s sensor has ~13–15 stops of dynamic range. A room with a daytime window can be 18–22 stops. Math doesn’t fit.
Camera settings for brackets
Mode: Aperture Priority (Av / A)
Set aperture to ƒ/8 — sharp across the frame, plenty of depth of field for room shots. Let the camera vary shutter speed across the bracket. Simplest setup.
ISO: 100 (or your camera’s base ISO)
Lower ISO = less noise. With a tripod you have all the shutter speed you need.
AEB: enabled, ±2 stops, 5 frames
Auto Exposure Bracketing fires the sequence automatically. Most cameras let you set the spread (stops between frames) and the count (3, 5, 7). For interiors with windows, 5 frames at 2-stop spread is the sweet spot.
Drive mode: continuous high-speed
So the AEB sequence fires in one shutter press. If you’re set to single-shot, you’ll press the shutter for each frame and risk camera movement.
White balance: manual (5500K or daylight)
Auto WB can shift between frames. Lock it to daylight or set a custom K value — typically 5500K for daylight-dominated interiors, 3200K for tungsten-heavy rooms.
How many brackets do you actually need?
3 brackets — for low-contrast scenes
Use 3 (−2, 0, +2) when the scene is fairly even — no big windows, no dramatic shadows. Detail shots, kitchens with small windows, bathrooms without exterior glass.
5 brackets — the default for interiors
Use 5 (−2, −1, 0, +1, +2) when there’s a real window in the room. Default for living rooms, bedrooms, dining rooms, anywhere with significant exterior light.
7 brackets — extreme contrast only
Use 7 (−3, −2, −1, 0, +1, +2, +3) for the toughest cases: massive floor-to-ceiling windows, dark basement rooms, scenes with both bright sunlight and deep shadow simultaneously.
Quick rule
Tripod technique
HDR requires every frame in the bracket to align pixel-perfectly. A tripod is non-negotiable for interiors.
- Level the tripod head with a hot-shoe bubble level or your camera’s built-in level.
- Tighten every knob before firing. Loose pan/tilt locks introduce micro-shifts mid-sequence.
- Use a remote release or 2-sec timer so pressing the shutter doesn’t shake the camera.
- Turn off image stabilization (IS / VR / OSS) on a tripod. Stabilization actively introduces micro-movements it thinks are needed for hand-held — on a tripod, it shakes what should be still.
- Mirror lock-up if you’re on a DSLR (mirrorless cameras don’t need this).
Shooting workflow on location
- Set tripod, level, lock everything down
- Frame the shot (wide enough to include windows, narrow enough to not include adjacent rooms unless intentional)
- Set ISO 100, ƒ/8, manual white balance, drive mode high-speed, AEB ±2 stops × 5 frames
- Half-press to lock focus on the most important plane (typically the back wall or center of furniture)
- Fire the bracket sequence with remote / 2-sec timer
- Review one frame on the LCD to verify focus + framing
- Move to the next position
What NOT to do
Don’t hand-hold brackets
You will introduce movement between frames. The merge will ghost. Use a tripod.
Don’t shoot JPEG-only
RAW gives the merge algorithm 12–14 bits of color depth per channel vs 8 bits for JPEG. The difference shows up in shadow recovery and highlight roll-off.
Don’t bracket through ceiling fans, occupied rooms, or windows with movement outside
A ceiling fan blade in different positions across 5 frames will ghost. So will a person walking through, a curtain blowing, or branches moving outside. Turn off fans before shooting. Wait for movement to settle.
Don’t shoot with flash mid-bracket
Mixing flash and ambient produces inconsistent results. If you’re using flash, commit to a flash workflow (single exposure or flash-bracket). If you’re using brackets, commit to ambient-only.
The post-production reality
The dirty secret of traditional HDR is that shooting brackets is easy; merging them is the actual work. Lightroom’s HDR Merge is decent for casual use but has visible artifacts on real-estate scenes. Photomatix and Aurora HDR are more powerful but require manual artifact cleanup. For 25 rooms × 5 brackets = 125 frames, manual HDR processing is 45–90 minutes of cleanup time.
AI HDR Merge handles this in under 30 minutes start-to-finish:
- Auto-detects bracket sets via EXIF timestamp + exposure value
- Aligns frames at sub-pixel precision
- Tone-maps to a calm, photo-real curve (no halos, no over-saturation)
- Pulls window detail through glass automatically
- Bundles sky replacement, fireplace fire, TV blackout, glare reduction, photographer removal — at no extra charge
At $0.59 per image, outsourcing HDR is a math problem. Your time editing brackets is worth $50–$150 / hour. Outsourcing 25 brackets saves an hour and costs about $15. The trade is one-sided.
The new post-shoot workflow
- Eject SD card, copy brackets to your laptop
- Drag the folder into the Studio upload zone
- Pick service = HDR Merge, submit
- Walk away. Make coffee. Drive to the next shoot.
- Email notification when ready (under 30 minutes)
- Download MLS-ready JPEGs and deliver
No Lightroom catalog. No Photomatix license. No artifact cleanup. No second pass for sky replacement. No third pass for fireplace fire. The pipeline ships finished images.